-
Xinxintian Industrial Zone, Shajing Street,Bao'an District, Shenzhen, China

PCB Fabrication: A Step-by-Step Guide to Creating Your Own Boards
[ad_1]
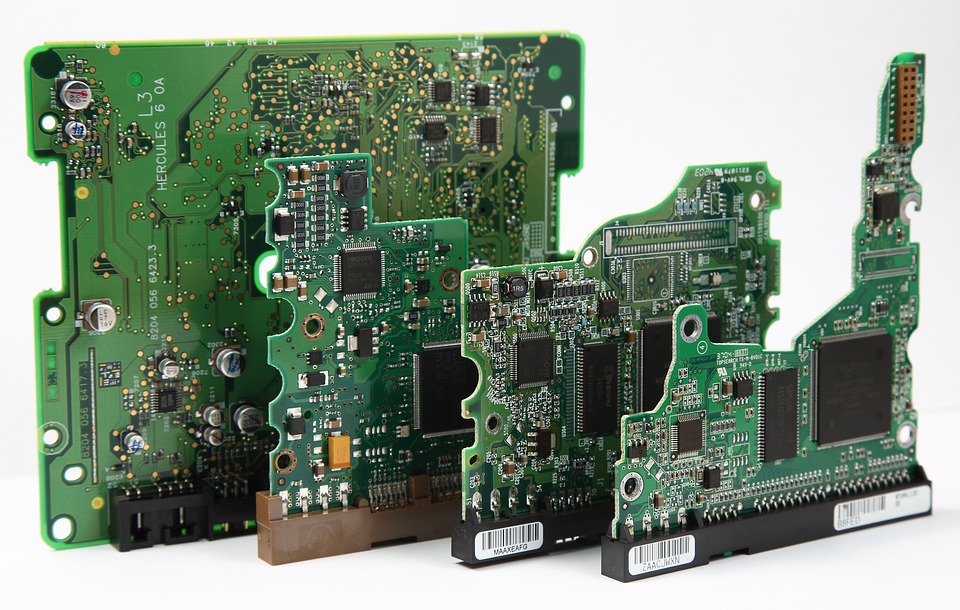
PCB (Printed Circuit Board) fabrication is the process of creating a physical board with electronic components, such as resistors, capacitors, and integrated circuits, mounted onto a non-conductive base material, typically copper or FR-4. This guide will walk you through the step-by-step process of creating your own PCB, from design to fabrication, and provide you with the necessary knowledge to ensure a successful outcome.
Step 1: Design Your PCB
To begin, you will need to create a design for your PCB using dedicated software, such as Cadsoft EAGLE or KiCad. This software allows you to create a digital representation of your board, which will be used to fabricate the physical board. The design process involves several key steps:
- Determine the size and shape of your board
- Choose the components you will be using and place them onto the board
- Add any necessary tracks (connections) between components
- Verify your design for errors and conflicts
Once you have completed the design, you will need to generate a gerber file, which is a file format used to communicate with the manufacturing facility.
Step 2: Select a Fabrication Service or Manufacturer
There are several options for manufacturing your PCBs, including in-house manufacturing, contract manufacturing, and PCB fabrication houses. It’s essential to choose a reputable and reliable partner that meets your specific requirements and budget. Consider factors such as:
- Quality of manufacturing process
- Cost and pricing
- t-turnaround time
- Manufacturing capacity
Step 3: Send Your Gerber File to the Manufacturer
Once you have selected a manufacturer, you will need to send them your gerber file, which they will use to manufacture your board. Make sure to double-check your file for any errors or inaccuracies before submitting it.
Step 4: Receive and Inspect Your PCB
Once your PCB has been manufactured, you will receive it from the manufacturer. It’s crucial to inspect your board for any defects or damage immediately. Look for any signs of damage, such as scratches, dents, or damaged components.
Step 5: Assemble Your PCB
With your new PCB in hand, you can now begin assembling it. This typically involves using a soldering iron, solder wick, and flux to attach components to the board. Make sure to follow proper soldering techniques to avoid damaging your board.
Conclusion
PCB fabrication is a complex process that requires careful planning, attention to detail, and a good understanding of the manufacturing process. By following the steps outlined in this guide, you can successfully fabricate your own PCB and create a reliable and efficient electronic device.
Q: What is the cost of PCB fabrication?
A: The cost of PCB fabrication varies depending on the manufacturer, the size and complexity of your board, and the number of components. Typically, it can range from $50 to $500 or more for a single board.
Q: How long does the manufacturing process take?
A: The manufacturing process can take anywhere from a few days to several weeks, depending on the complexity of your design and the manufacturer’s workload.
Q: Can I manufacture my own PCBs at home?
A: Yes, it is possible to manufacture your own PCBs at home, but it requires a significant amount of knowledge, specialized equipment, and a cleanroom environment to ensure the quality of the board.
Q: What is the best PCB fabrication software to use?
A: The best PCB fabrication software to use depends on your personal preference, design experience, and requirements. Popular options include Cadsoft EAGLE, KiCad, and Altium Designer.
[ad_2]