-
Xinxintian Industrial Zone, Shajing Street,Bao'an District, Shenzhen, China

PCB Repair and Troubleshooting: A Comprehensive Guide to Diagnosing and Fixing Common Issues – Tips and techniques for identifying and resolving common problems with PCBs.
[ad_1]
Introduction
PCBs (Printed Circuit Boards) are an essential component of modern electronics, and their proper functioning is crucial for the smooth operation of various devices, from home appliances to complex industrial machinery. However, with the increasing complexity of PCBs, the risk of errors, malfunctions, and damage also increases. In this article, we will provide a comprehensive guide to diagnosing and fixing common issues with PCBs, including tips and techniques for identifying and resolving common problems.
Understanding the Basics
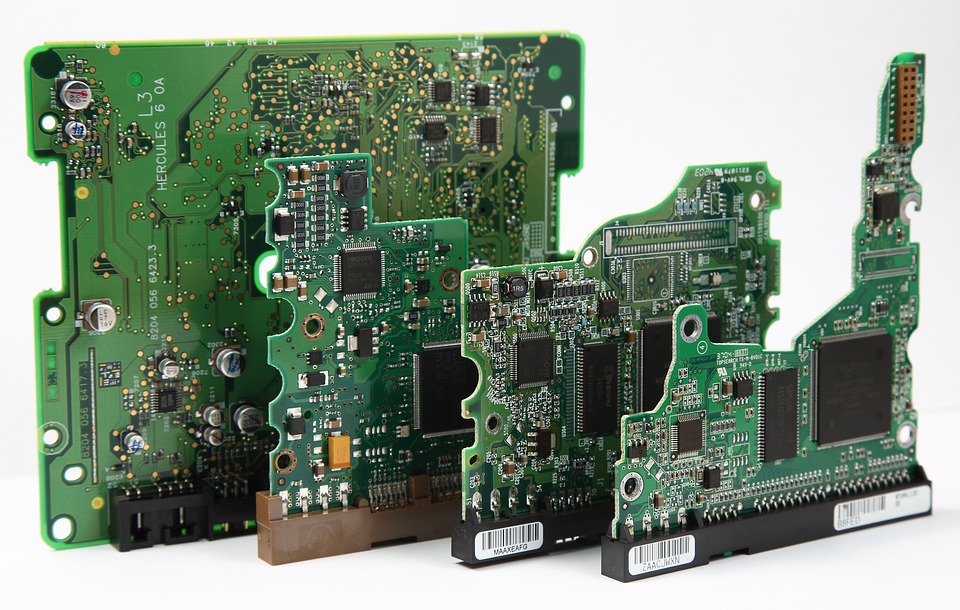
Before diving into the world of PCB repair and troubleshooting, it is essential to understand the basics. A PCB is a thin, flat board made of insulating material, such as fiberglass or ceramic, with conductive pathways, or “traces,” etched onto its surface. The board is populated with electronic components, such as resistors, capacitors, and integrated circuits, which are connected by wires or traces to form a circuit.
Common Issues
PCBs can be prone to various issues, including:
* Damaged or worn-out components
* Corrosion or oxidation
* Moisture damage
* Thermal stress
* Manufacturing defects
* Wrong installation or handling
* Power surge or electromagnetic interference (EMI)
Diagnosing Issues with PCBS
Diagnosing PCB issues requires a systematic approach. Here are some steps to follow:
* Inspect the board visually: Look for signs of damage, wear, or corrosion. Check for any cracks, scratches, or burns on the surface of the board.
* Use a multimeter: A multimeter can help you identify issues with power supply, voltage, and current. You can also use it to measure the resistance and continuity of components.
* Check for looseness: Check if components are securely fastened and if there are any signs of wear or loosening.
* Review the design: Study the design of the board and look for any potential issues with the layout, component placement, or signal routing.
* Consult the manufacturer’s documentation: Check the manufacturer’s data sheets and documentation for guidelines on troubleshooting and repair.
Fixing Common Issues with PCBS
Once you have identified the issue, it is time to repair or replace the faulty component. Here are some tips and techniques for fixing common issues:
* Faulty components: Replace the component with a new one that matches the original specifications.
* Corrosion or oxidation: Clean the board using a soft brush and a gentle cleaning solution. Apply a corrosion-resistant coating, if necessary.
* Moisture damage: Dry the board using a desiccant or a vacuum pump. Consider applying a moisture-resistant coating.
* Thermal stress: Ensure proper heat dissipation and consider applying a thermal interface material.
* Manufacturing defects: Consult the manufacturer’s documentation and contact their support team for assistance.
* Wrong installation or handling: Reinstall the component correctly and handle the board with care.
Advanced Troubleshooting Techniques
For more complex issues, additional techniques may be required, including:
* Soldering and rework: Use a soldering iron and wick to remove and resolder components.
* Desoldering: Use a desoldering wick or a suction tool to remove excess solder.
* PCB repair kits: Use specialized kits designed for specific components, such as reels or connectors.
* PCB modification: Modify the board to accommodate changes in design or component placement.
Conclusion
PCB repair and troubleshooting requires a systematic approach, careful inspection, and the right tools. By following the steps outlined in this article, you can identify and fix common issues with PCBs, ensuring the smooth operation of your electronic devices. Remember to always follow proper safety precautions, consult manufacturer’s documentation, and seek assistance from experts when necessary.
FAQs
Q: What is the best way to troubleshoot a faulty PCB?
A: Start by following a systematic approach, inspecting the board visually, and using a multimeter to identify any electrical issues.
Q: How do I fix a faulty component on a PCB?
A: Replace the faulty component with a new one that matches the original specifications.
Q: How do I remove stubborn solder from a PCB?
A: Use a desoldering wick or a suction tool to remove excess solder.
Q: Can I repair a PCB myself, or should I seek professional help?
A: If you have experience with PCB repair and troubleshooting, you can attempt to fix the issue yourself. However, if you are unsure or lack experience, it is recommended to seek assistance from a professional electronics technician or the manufacturer’s support team.
Q: How often should I inspect my PCBs?
A: Regular inspections can help identify potential issues before they become major problems. It is recommended to inspect your PCBs at least once a year, or more frequently if they are in use.
By following the guidelines and techniques outlined in this article, you can effectively diagnose and fix common issues with PCBs, ensuring the reliable operation of your electronic devices. Remember to always follow proper safety precautions, consult manufacturer’s documentation, and seek assistance when necessary.
[ad_2]

admin
You may also like
Green PCBs: The Benefits and Challenges of Environmentally Friendly Circuit Boards

The Role of Automation in PCB Assembly: Accelerating Production and Reducing Costs

What is PCB Assembly? A Beginner’s Guide to Printed Circuit Board Assembly